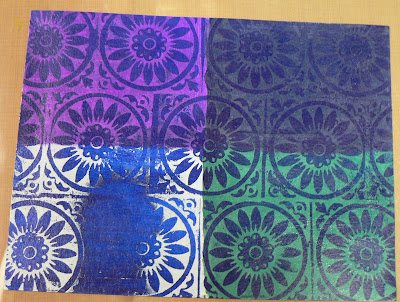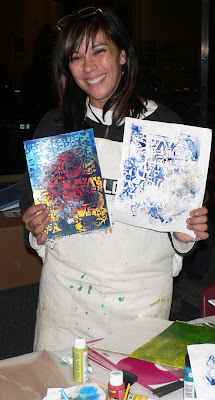
I've been wanting to have a stash of beads ready for projects. Instead of painting paper, I grabbed scraps out of my background techniques drawer. Some are acrylic paints on paper towels, peeled off papers, a project that didn't turn out as I wanted for a swap, worksheet wonders, some worksheets embossed in an embossing folder and an inked gift bag.
Tore the paper into strips 3/4" to 1-1/4" wide and wrap around a narrow skewer. I like to add glue to the first wrap around and the end bit.
These are the beads I made:
Most of the beads I wrapped with fun fibers, some I added beads to and on one I wrapped with copper wire and beads. These are the beads I made with the painted paper towels:
These are the beads made from the papers used to iron off the painted embossing powders: These are from the other assorted papers:Fun! Fun! Fun!
Showing posts with label peeled off papers. Show all posts
Monday, August 15, 2011
Sunday, September 13, 2009
Another Gift
Need to make another present, and the recipient loves grungy art, so with the last flower I made in the quilling project, I am inspired. I have some lovely grungy paper I made in a class with Bernie Berlin last fall. The top sheets are cut down from ones of the official "Resist This" papers and the bottom paper is one of the peeled off papers cut down. I ran some Distress inks over the peeled off papers and misted with red color spray. Let dry, then lightly stamped on some words with bronze Encore ink. Then sprinkled on some copper Perfect Pearls and swirled over the surface with a wet paint brush and let dry.
For the front cover, roughly colored the edges with a large copper leafing pen. Attached some blue mesh ribbon. Added a large "pearl" bead to the center of my grungy flower and tied on a strand of beads. Used Bind-it-All to bind the pages together with a large black coil.
For the inside covers, painted thin cardboard with d. purple acrylic paint, let dry and colored the edges with large copper leafing pen. Painted edges of the peeled off papers with d. purple acrylic paint and attached to painted cardboard. Printed vintage images on to plastic transparency sheet and adhered to covers. Added words with black letters on clear stickers.
Saturday, November 1, 2008
November Art Lottery
Rosie was the winner of last month's Art Lottery on NGS. She choose the theme of "spirits" for Novembers Art Lottery. She's leaving the interpretation up to us. I wanted to use one of the pieces of paper that was used to lift off paint and embossing powder when creating the "Resist This" backgrounds I made from Bernie Berlin's class last month. I like turning what some people might throw away into art.
I just needed a small piece of this paper for my ATC. An ATC sized piece cut out of a manila folder is used to choose what portion of the page to use in my project. I was given this folder when I took a Lovely Layers class earlier in the year. You can see how I've used this folder in another post. This is a fabulous tool to have and costs very little to make.
I cut out the portion I wanted to use and added it to thicker card stock and colored the edges with black Stazon ink. I added an "art" quote on Vellum, metal stars (I colored with silver alcohol ink) and an image of a little sprite, perhaps an art muse.
Friday, October 17, 2008
Raven's Nest Art Retreat - Bernie Berlin's Class
The second class I took today was Bernie Berlin's Resist This class. Bernie is a terrific teacher, very inspiring and helpful. This technique makes great backgrounds and can be found in Bernie's fabulous book "Artist Trading Card Workshop".
First, we painted four different colors onto watercolor paper (I used Ranger Daubers that Bernie brought along). When the paint was dry, we stamped on top with embossing ink and covered with clear embossing powder and heat set.
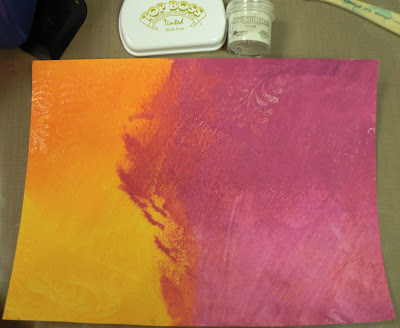
Next, paint over the paper with heavy body acrylic paint, I used a deep purple.
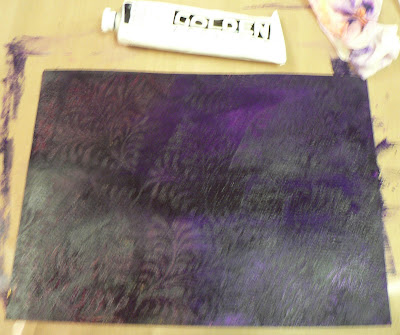
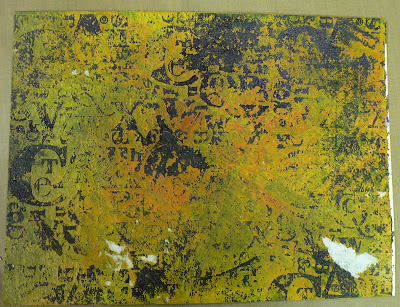
Allow paint to dry, the lay down a sheet of white copy paper and run over it with a hot iron. The trick is to not leave the iron down for too long and to quickly peel up the copy paper. This removes the acrylic paint over the embossed images and also the embossing powder.
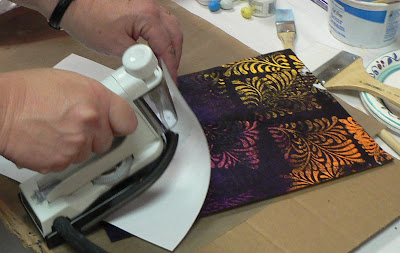
Love how it looks. This will be great to cut up for backgrounds.
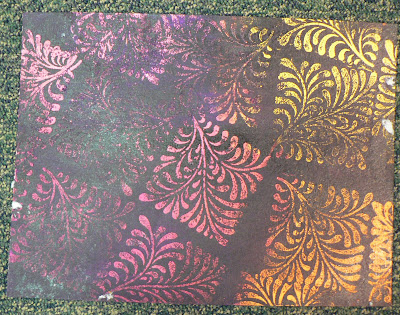
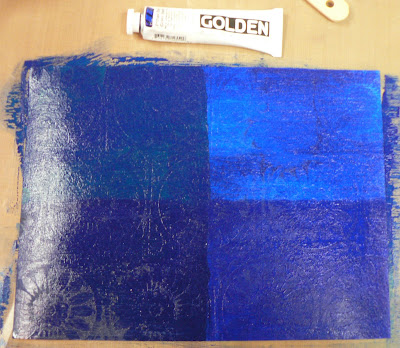
I used four different colors of daubers, then stamped & embossed with clear powder (as described above) and painted over with blue acrylic paint.
Here is what it looks like after ironing. I see I missed a spot of embossing, but it will be cut up into backgrounds. I may end up stamping over that area.
This sheet was covered with purple acrylic paint then stamped and embossed.
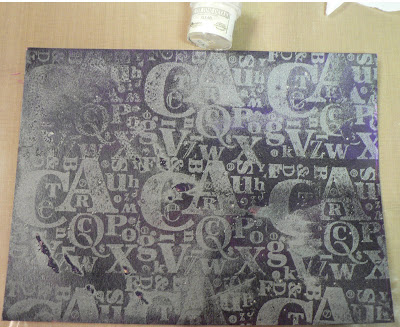
I painted over the embossed page with both the yellow and gold acrylic paints.
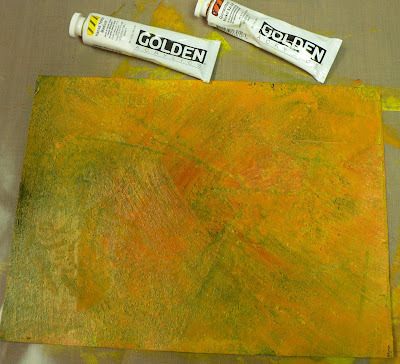
What it looks like after ironing. Some of the copy paper stuck, but I'll be able to peel it off later. A great technique with lots of varying possibilities.
Then Bernie showed us how to use the peeled off copy papers. We sprayed Radiant Mist sprays onto the craft sheet and smooshed the papers down to pick up that color.
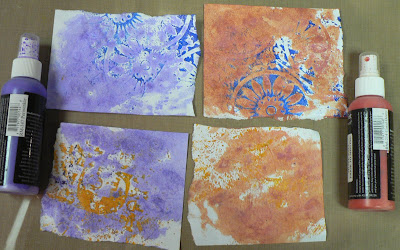
Then we painted on Twinkling H20s on top. These will make great backgrounds.
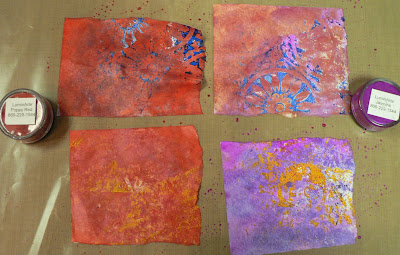
Here are some more of the peeled off papers I did tonight.
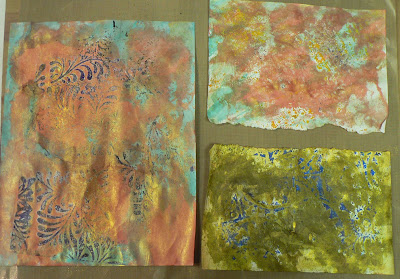
I have lots more of the peeled off papers to play with when I get home.
Subscribe to:
Posts (Atom)