Wednesday, March 31, 2010

April Charms

I hope the monthly charm swaps on ccswaps continue, I'm having lots of fun making different charms, and in signing up for 3 swaps/month I should have a fabulous collection by the end of the year. I pulled out one of the work sheets I'd used under various projects and loved the blue glimmer part. Cut out some small circles and tore out small bits of a dictionary page I had colored and sprayed with some glittery color wash to add to the circles.
Used Liquid Glass (I think this is similar to Diamond Glaze) to attach the paper circle to the inside of these copper jewelry findings by Patera. Added more Liquid Glass and a dragonfly charm and small purple bead. Then had to wait for the Liquid Glass to dry.....
Then added some jump rings and more beads along with a copper colored moon charm.
Liking the look of copper, blue and purple together.

Tuesday, March 30, 2010

Mini Memory for Melissa

On DCI, Melissa picked the colors Blue & Aqua for her Mini Memory, with any theme of the artist's choosing. For the background on the canvas, I used the Alcohol Dissolve on Acrylic technique.
Made a stencil with a flourish die cut and the Tim Holtz Mask Sheet. Used this stencil to add Pearlescent Stencil Paste flourishes to the canvas and let them dry.
To finish the canvas, added wings made with Fantasy film, a vintage image, a quote on vellum and some metal star charms with blue fibers.
Update 3/31: Thanks to a good friend who emailed me and let me know I had a typo before I had the opportunity to mail this Mini Memory. I have re done the quote and fixed the error. The above photo is the corrected version. Thanks Rena!!!

Chalks and Versamark Ink

Quick and easy technique. Stamp an image with VersaMark (or another Watermark ink) on glossy or other coated card stock. Rub chalks over the VersaMark ink to color the image.
Here's the image after I finished adding more colors of chalks.

C is for Crayon Resist

Some techniques starting with the letter C are Crimping, Carving, Caught in Crystal, Cracked Glass, Credit Card Backgrounds, Crayon Resist, Collage, Chalks and Watermark/Versamark ink, Cosmos Paper and Colorwash techniques. I decided to make a fun Birthday Card with the Crayon Resist technique. Which I have played with before, it is also called Resist with Crayons.
Stamped candles with black Archival ink and heat set on glossy paper. Colored in the candles with white crayon, the flames with orange & red crayons and wrote the word "Brilliant" with a yellow crayon.
Covered the card with Rainbow ink with a brayer, wiped off the ink over the crayon colored areas.
Stamped "A happy birthday" and colored the edges with black Archival ink and heat set. Layered on a yellow card.

Saturday, March 27, 2010

C is for Collaged Coaster Cube....

I've signed up for the "C" is for... swap on ccswaps. Lot's of ideas collected in my thoughts. I ran 5 plain coasters through a Cuttlebug embossing folder. Since these coasters were too thick to be a "regular" sandwich through the Cuttlebug, I placed the coaster inside the embossing folder and between the A plate and the C plate then ran it through the machine without any trouble. On one side of the coasters I colored them by running a dark colored Distress ink pad over the surface. Then before the ink was dry, I painted on a layer of Matte Acrylic Medium to blend the color better (sorry forgot to take a picture of that step) and let it dry.
On the other side of four of the coasters I started 
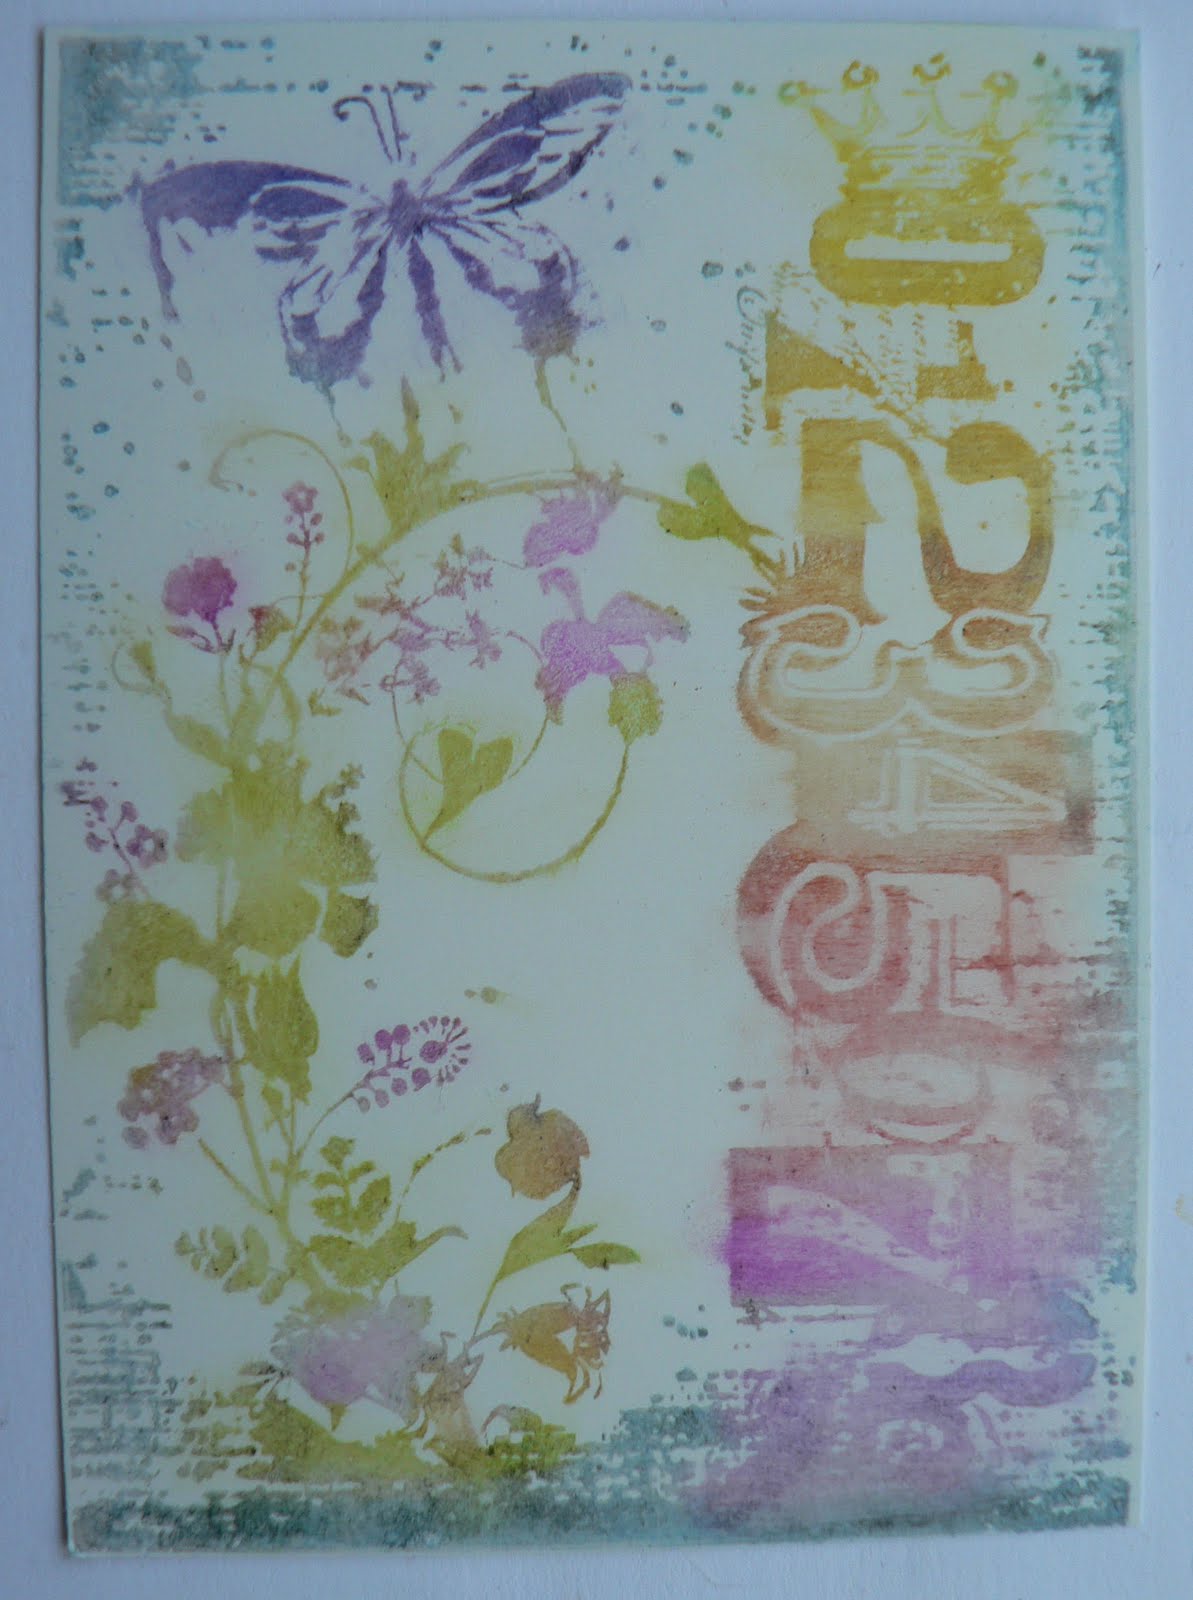
collaging papers. Stamped a light Distress ink on the colored papers, music scale on the yellow paper and flourishes on the blue paper. Dictionary pages were previously colored with brown ink and some gold perfect pearls. Stamped over all papers with brown StazOn in with a "crackle" like texture stamp and used the brown Stazon ink to color the edges. Then coated the coasters with Matte Acrylic Medium and let dry.
Decided to add more brown StazOn ink to the edges. On two coasters added butterfly images with Matte Acrylic Medium. On the other two coasters glued on some of the Corrosive Elements I made earlier today along with paper with quotes on them.
To complete the Cubed Container, I punched holes with the Zutter Bind-it-All and tied the coasters together with brown fibers. Tied on Copper Etched Charms I made last fall to each of the upper 4 Corners of this Cube.
This was fun, hope the recipient enjoys it as much as I did making it.

Book Study - Corrosive Effects

Continuing with our Study of Julia Andrus' book "Paper Transformed" with the NGS group. This week is the project "Corrosive Effects". A great way to make paper look like corroded metal.
Julia says to mix sand or embossing powder with a mixture of patina colored acrylic paint and acrylic medium. I mixed cardinal red with burnt sienna and used some embossing powder that I accidentally mixed different colors together. Paint this mixture on your paper, I choose some store bought die cuts and some I did myself.
The purchased die cut started out black, so I decided to add a second layer of the paint mixed with embossing powder. Also painted a die cut heart that I had first dry embossed.
Next, if desired, stipple on other patina paint colors. I chose this acrylic metallic paint to stipple on my paper elements.
Here are my finished pieces, they look like old rusted corroded pieces to me.

I'm having lots of fun with the projects in Julia's book.

Saturday, March 20, 2010

Shaped Theme ATc

Another ATC swap on ccswaps I want to sign up for, this time the theme is Shapes. We are to emphasise a shape. Choosing a shape and design our ATC using this shape in the background, focal point and/or embellishment. I decided on Star shape and picked this vintage image with the idea of utilizing the "spotlight technique" to emphasise the star shape. I printed the image in gray tones slightly smaller than an ATC size. Also printed the image in color and cut out the upper body in the shape of a star, coloring the edges with a silver Krylon pen.
Stamped small stars in the background with silver Encore! ink and a saying with blue StazOn ink.
Layered the background on silver card stock, added the "Star spotlight" and a small blue metal star.

Friday, March 19, 2010

Nature ATC

ccswaps has an upcoming "Nature" themed ATC swap. Wanted a background similar to the one I did with Brayered Gesso Resist Backgrounds, but on a smaller scale. Started with very dark green matte card stock, placed under portion of stencil wanted to use and lightly sponged on white gesso. Helps to get most of the gesso off the sponge before sponging onto the stencil covered stencil (remember to wash stencil immediately). Let dry.
Instead of using a brayer, I used DTP (direct to paper) with a small rainbow pad and rubbed in the inks with my finger. I choose pink, as spring will soon be here and we are starting to see lots of pink buds in the gardens.
Wanted to create a "mystical garden fairy" over my piece. (I confess, I love the bit with the fairies painting the seasons in Disney's Fantasia) Inked up the pieces with VersaMark ink and covered with Opals Franklin (similar to UTEE) and melted in a craft only electric fry pan. Added two more layers of Opals.
While the Opals were still hot/melted, inked my stamp with VersaMark ink and firmly pressed into the melted opals. When the Opals hardened/cooled removed the stamp and colored the raised areas with silver Encore! ink. Seems "mystical" to me.
Layered the piece on silver paper and added a small silver dragonfly in the corner.

Book Study - White Glue Crackle

On NGS group, we are studying Julia Andrus' book "Paper Transformed". This week we are looking at the section on White Glue Crackle. Easy & inexpensive way to make crackle, just takes a bit of time.
Start with card stock, using a color that is your desired under tone color. Paint a thin application of white school glue over the card stock and let dry until it is tacky, but not dry. Julia mentions to created fine line crackle, use the glue straight. For wider cracks in the crackle, thin the glue with water (which is what I did).
When the glue is tacky, paint over the paper with acrylic paint of your choice of color and let the paint dry naturally (this is where the time comes in).
Here are my results:

Thursday, March 11, 2010

Book Review - Luminous Lifting

This is the reverse or opposite technique from the "Luminous Dusting" technique shown below, another technique in Julia Andrus' book "Paper Transformed".
Rub VersaMark, Perfect Medium or Embossing ink on to dark matte paper with a paper towel or sponge.
Brush on assorted Perfect Pearls with a brush to cover the paper, then brush off the excess powders.
Using VersaMark, Perfect Medium or Embossing ink, ink a stamp, then press the stamp on to the Perfect Pearl covered paper. Lift up the stamp, you'll see that the stamp imaged removed the Perfect Pearls from the dark paper.
Spray the paper with a fine mist of water to set the Perfect Pearls to the paper.

Book Review - Luminous Dusting

On NGS group we are doing a study of Julia Andrus' book "Paper Transformed", this week we are looking at "Luminous Dusting". Start by stamping an image with VersaMark, Perfect Medium or Embossing ink on to dark matte paper.
Using a brush, apply Perfect Pearls over the stamped image. You can carefully color each area as desired, or randomly apply assorted colors as I did here:
Brush off the excess powder, then set the image by applying a fine mist spray of water.

After it has dried:

Quick Quilts

We were told that the supply of lap quilts for our Comfort Quilters group was running low, so I made some quick basic square quilts:


Friday, March 5, 2010

Pin Swap

ccswaps is having a Pin Swap, thought I'd make something with the Shimmer Paper I made earlier today. I cut out a 1-1/2" x 1-1/2" piece of the shimmer paper and stamped a clock image with brown StazOn ink and some words with black Archival ink. Added a vintage image that had some gold Perfect Pearls washed over it.
Placed this collage under a piece of glass and into a copper frame and added beads to the ring. Just need to add a pin back to the back and it will be done.

Soldered Charms

I've signed up for the March Charm swap on ccswaps. I decided to make soldered charms using some oval glass pieces.I used some of the shimmer paper I made today for the backgrounds.
Collaged over the shimmer papers with StazOn ink stamping, cut out vintage images and then soldered over copper tape. Added a bead to the top.


Book Study: Shimmer Paper

On NGS group we are doing a study of Julia Andrus's book "Paper Transformed". This week we're looking at the technique Shimmer Paper. Julia says this technique turns any paper into a soft shimmering version of itself. It is very easy. Make a wash of water and Perfect Pearls. I choose Sunflower. Julia says to quickly paint over the paper, stroking in both directions then buff the paper with a paper towel.
First sheet I used a very small amount of Perfect Pearls, result in a light shimmer.
Second sheet, used more Perfect Pearls in the wash and resulted in more shimmer. I love how the blue paper is still blue, but glitzy.
Did a wash over background papers:
Another wash over white paper that had been embossed in a Cuttlebug embossing folder (love this one):
Over some colorful tissue paper:
And over a work sheet that had been used when I was brayering on rainbow ink pads over card stock.:
Lots of fun. Julia says that gold Perfect Pearls will make warm tones and pearl Perfect Pearls will make cool tones.