Cut watercolor paper to size. Dampen the paper with water, then drop on some color (using liquid watercolor or dye ink), spread the color over the paper with a wet brush.
 Drop another color onto the wet paper and blow it around with a heat gun.
 If desired, add more color and repeat with the heat gun.
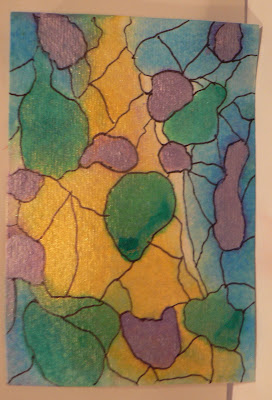
 When the paper is dry, look and try to envision shapes to outline. I had difficulty finding any shapes it this piece. Bernie says not to worry, if you don't see any shapes, just start doodling with a fine point black pen, shapes and images will come. I'm not sure about any images, but I liked how this has a stained glass appearance, especially having used the iridescent colors. I think this will make a good background for a project.
 Decided to try again with another type of inks: Distress re-inkers. I found a little bit went a long way with this ink:
 Dropped on some more Distress ink and blew around with a heat gun.
 Noticed extra blue ink on the craft sheet, so wiped it up with the edges of the card to color the edges.
 Dropped on some darker green, again blowing it around with the heat gun.
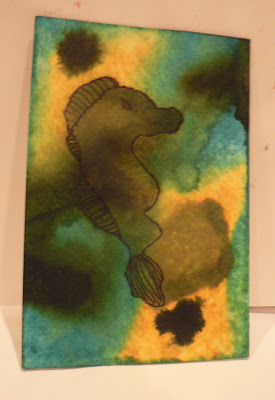
 This time, I thought I could see a sea horse, so I outlined the sea horse with a fine-point black pen and added in some details.
 This reminded me of worn packaging, so I added some fish postage stamps, over stamped some script and postage images with brown StazOn ink, and added a few charms. What fun!

The best part of all this was I had never been interested in this technique. I didn't get it. This book review forced my hand and made me realize: I'm not supposed to "get it", I'm supposed to just play and let the random movement of the colors show me the way to go. Fun!


 I added more torn out napkins to the hole in the piece and covered with a small piece of tissue paper and painted. Then sprayed on some pigment spray and some Perfect Pearls wash.

