Friday, March 25, 2011

Ian's Adventure

I'm away visiting my grandchildren and without my art supplies. When my almost 3 yr old grandson told me his adventure, I had to make him a little book using what was laying around the house, small legal pad, colored pencils and crayons. (Note I do not draw well, but toddlers aren't fussy).
A big kite took me away....
we flew over the ocean to....
Africa, where I saw dung beetles eating poop!
He loved the "book" and decided it was FIVE dung beetles, "draw more grandma" and used the crayon to make the poop BIGGER!!!
Love to encourage an active imagination.....

Sunday, March 20, 2011

White ATC

The ATC this month is to be entirely white. I decided to use fabrics, lace and beads to give lots of texture. Covered a piece of batting with white on white fabric. Then covered with embroidered organza and some cut out lace and used sewed the edges down.
I found this charm I wanted to use as a sun, so I painted it with white enamel.
I added a large white bead to the center of the sun and smaller beads on the flowers.

Friday, March 18, 2011

Book Review - Diptych & Triptych Cards

On NGS group we are doing a book study of Bernie Berlin's book "Artist Trading Card Workshop". This week we're looking at the section "Diptych & Triptych Cards
Not sure what it's called but I made a four part ATC set before. Today, I made a Diptych set. Started with two backgrounds that where two different gesso resist backgrounds using the same colors. Stamped on a background image with blue StazOn ink.
Added vintage images, stamped on a large clock and wrote in a saying. They look well as one piece.
And also work as two separate ATCs.

Friday, March 11, 2011

Book Study - Folded Cards (ATCs)

On NGS group we are continuing with our study of Bernie Berlin's book "Artist Trading Card Workshop", this week is the section on creating folded ATCs. Bernie mentions that you can start with any size or shape, then fold down to the standard size (3-1/2" x 2-1/2"). Bernie says folds can add a whole new dimension and create limitless possibilities. There are several examples in the book. I love the one by Kim Rae Nugent of a raven with wings that fold across the card and open up.
I made some folded ATCs a couple of years ago which you can see here.
Today I decided to make another trifold ATC. I cut out a sheet of paper 3-1/2" x 7-1/2" and scored fold lines 2-1/2" in from each end. Also choose a sheet of paper used in my spray box to cover the inside of the card.
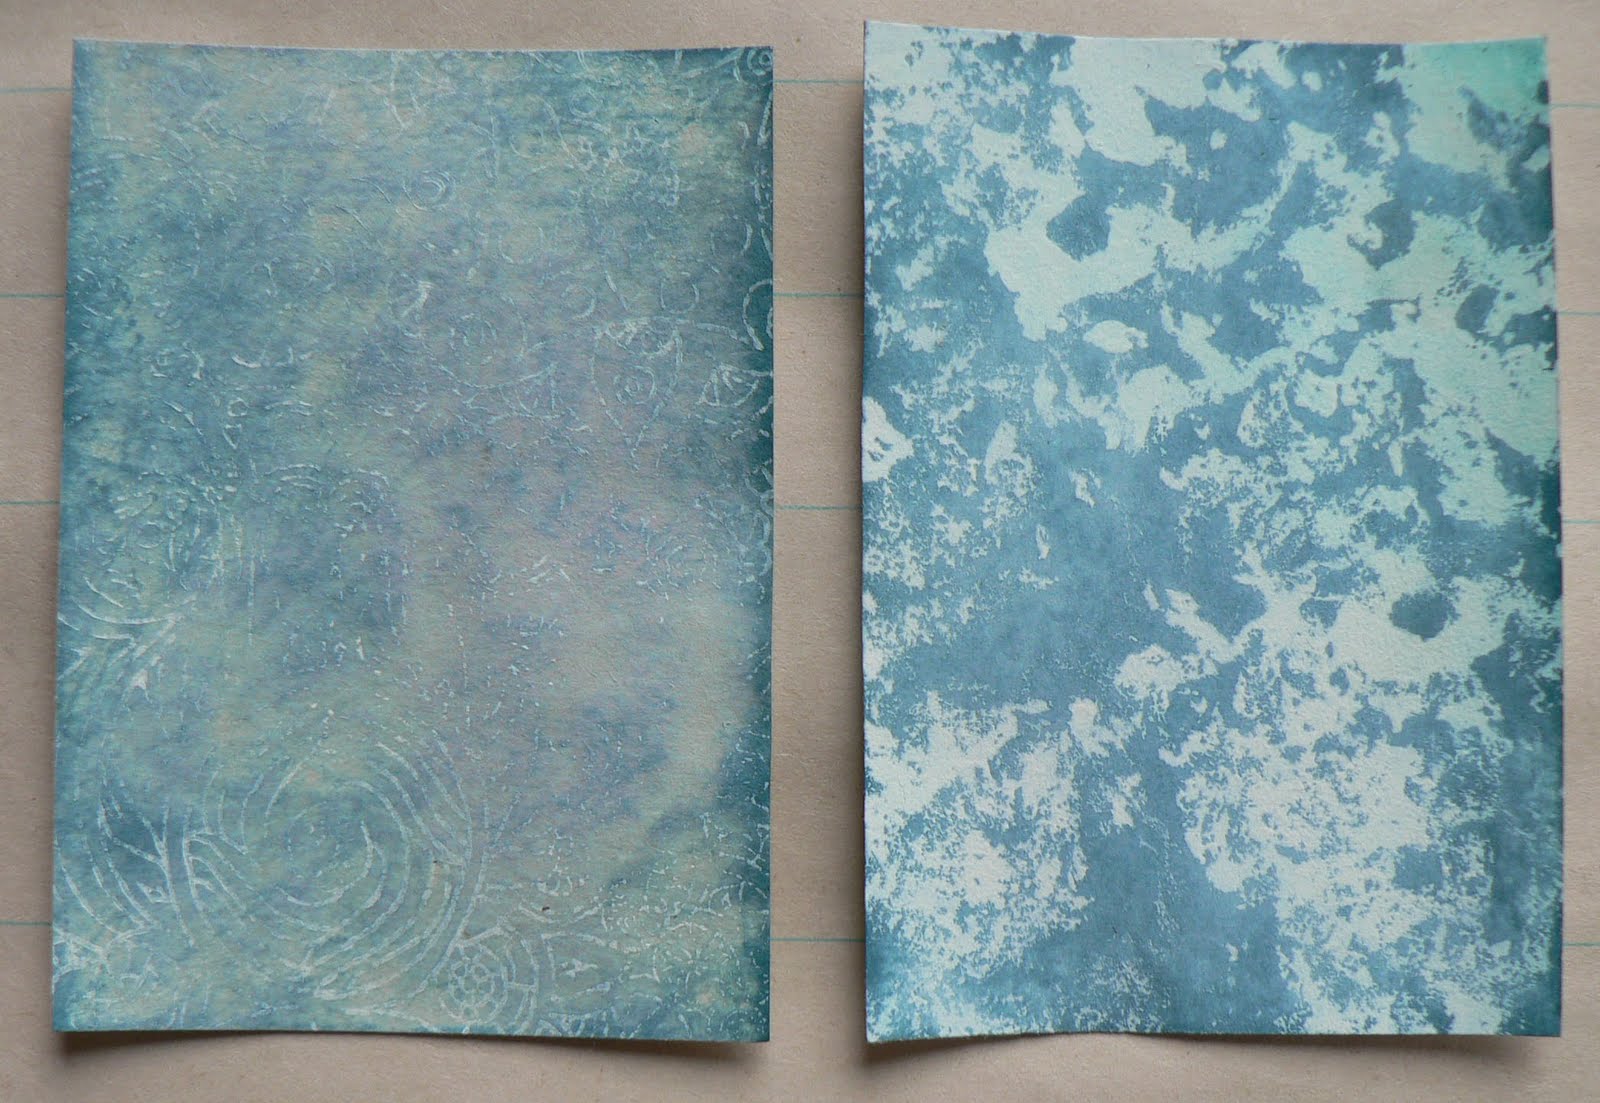
Painted the outside flaps with Twinkling H2Os and blended the colors by spraying with a fine water spray. Then stamped on some images with brown StazOn ink.
Cut half to fold in a butterfly embossing folder so it would slip over my card where I want it and embossed the image. Did another butterfly embossing folder on the other side.
Colored the raised embossed areas with Twinkling H2Os using my fingers to apply the paint. Then I cut away the card above the embossed butterflies on both side.
ATC with both sides folded in. All quotes are stamped on with black VersaFine ink.
How card appears with one flap open:
Folded ATC completly open. Added vintage image (colored with Twinkling H2O) and butterfly images. Also added some yellow Twinkling H2O to the debossed side of the butterflies.

Thursday, March 10, 2011

Happy Birthday Caitlin

A very special princess wanted a purple dress for her 3rd birthday, I was happy to make this dress for her, complete with a bolero jacket and a string of "pearls". A beautiful dress for my grandniece.

Saturday, March 5, 2011

Book Study - Journaled Cards

On NGS group, we are continuing to do a study of Bernie Berlin's book "Artist Trading Card Workshop", this week's section is "Journaled Cards". Bernie says if you've never journaled consider this an exercise to get a taste of journaling with little commitment. If you already keep and art journal, consider scanning and reducing some of your favorite pages to create ATCs.
I'm not a journaler, but when I glanced at the grand kids hand prints on my window, I knew what I'd write. Took a picture of the window, and couldn't focus well and the prints. Printed the picture on brochure paper, cut to size and then stamped hand prints with Moonlight White Brilliance ink. Colored the edges with black VersaFine ink and wrote my thoughts with a black permanent marker. Fun! The variations to this are endless.

Friday, March 4, 2011

Gate-fold Guide to Glue & Gesso Backgrounds

I'm continuing with the Alphabet Swap on Art-Venturers, we are up to the letter "G", so I made a Gate fold Guide to Glue and Gesso Backgrounds". I made the cover out of thin cardboard and covered it with some of the Gesso & Tissue Paper background I made yesterday. I was pleasantly surprised how sturdy and pliable this paper is, great for covering books. Also used this paper to cover the back board sleeve.
Kept the outside simple, added decorative border strips, large brand for knobs and tied gold leaf charms.
Used Zutter Bind-It-All to bind the glue and gesso background samples I made in two parts with a cardboard back page for each side that slips into the back board sleeve. While making the gesso & tissue paper background, I spread some of the extra gesso and copper Lumiere paint on to an old map page, cut out two pieces to line the inside front of the book and added the title using a label maker.
On the back of each sample background, I've included the instructions of what I did and added the swap details to the back board sleeve.
Will be sending this off to Autumn!

Thursday, March 3, 2011

Gesso & Tissue Paper Background


I found this technique here. She has lots of great tips in doing this technique.
Use wax, butcher or parchment paper under your tissue paper. Spread gesso over the tissue paper with a brayer and let it dry. Wash the gesso off the brayer immediately.
Flip the tissue paper over and spread more gesso over the back side with a brayer. (I think this is to strengthen the paper.) Let dry.
Dilute acrylic paint with acrylic glazing liquid and spread over the gesso on one side with the brayer. Leave some areas uncovered. Let dry.

Repeat with one or more additional colors, letting dry in between layers. I used silver then patina.

Here's a close up:

I did the same thing with black gesso over tissue paper and the same layers of paint.

Close up:

Did another one with black gesso, then layers of gold, patina and copper paints.

close up:

G is for acrylic Gesso wash

Another technique from the Technique Junkies Newsletter. Use a sponge to cover watercolor paper with gesso and let dry.
Daub acrylic paint over the gesso and lightly spray with water. Used p. blue on this one.
Used copper on this one.
Use sponge to cover over the gesso and let dry.
Decided to rub some Distress ink over these to add some depth.

Wednesday, March 2, 2011

G is for pearlized Gesso

Another technique from the Technique Junkies Newsletter.
Dry brush gesso onto card stock that is off white, similar to the gesso whitewash technique.
While the brush is still wet, pick up some Pearl Ex powders and brush onto the card stock. Use a couple of colors.
Here is one:
This one was done with pink and russet Pearl Ex powders.
Decided to try this technique with black gesso over dark card stock and interference Pearl Ex powders.
I like how this turned out:
A couple more, with the powders brushed on in different directions.

Tuesday, March 1, 2011

G is for sanded Gesso Whitewash.

Another technique from the Technique Junkie Newsletter. Dry brush gesso (or white acrylic paint) over colored card stock. Similar to the gesso whitewash technique shown in the post below, only covering more of the card stock. Let dry.
Run piece through an embossing folder of your choice. Sand off some or all of the gesso off of the raised area.
Here's my finished background.