Friday, March 28, 2014

Sea ATCs

This month on 9ATC Group, the theme is the Sea or things related to water. I chose a vintage mermaid image, printed it to 2-1/2" x 3-1/2", and picked out some sea looking fabrics.
 Covered the entire ATC with the light glittery green mesh, to give the photo an underwater appearance. Layered the green sequins fabric and the green netting over the bottom.
 Wrote "Follow Me" on a small piece of paper inked with blue & purple inks, and slipped it under the netting. Sewed on some "pearls".

Monday, March 24, 2014

Book pages for Tanya

In stamp club we're making pages for each other's books with poems or inspirational quotes. I took some background paper and stamps the dragonfly, butterflies and flourishes with Perfect Medium and brushed over with assorted colors of Perfect Pearls. Stamped assorted sayings with sepia Archival ink and added a vintage image.

Friday, March 21, 2014

Hippo for Lucas

I was asked to make another quilted stuff animal for the nursery. I'm headed out soon and didn't have a pattern, so I altered the patterns I had and came up with this Hippo. I think he will look good with the lion, elephant and giraffe I made a couple of years ago.

Tuesday, March 18, 2014

Large Panel Quilt

Another quilt for Comfort Quilters. I found this large fairy panel and used fabrics to make a border.

Monday, March 17, 2014

Simple Embossed Card

For stamping club, we were to make cards using a favorite technique or tool. I love embossing folders. I made this simple black & white card. Used a large floral embossing folder on white paper. Stamping saying with black Archival ink. Added black soot Distress Stickles to the flower centers. Layered on black paper, then the white card.

Gelli Plate Play Thick & Thin Metallic Paints on Black Paper

Decided to try the Thick & Thin Paint Technique on the Gelli Plate with metallic Distress Paints over black paper. First, used the brushed pewter Distress paint and brayered over the Gelli Plate.
Then brayered white acrylic paint over the metallic paint.

I pressed black paper and pressed down on the paints of the Gelli Plate, this is the first print:
This is the fourth printing I got off the same batch of paint:
 Next, brayered on antiqued bronze Distress paint over the Gelli Plate
 Then, brayered white acrylic paint on top, pressed black paper over the paints on the Gelli Plate, here's the first printing:
 This is the third printing off the same batch of paints.
Then I brayered tarnished brass Distress Paint over the Gelli Paint
then brayered white acrylic paint over the metallic paint and pressed black paper down on the paints, here is the first printing:


 This is the fourth printing from the same batch of paints:


Sunday, March 16, 2014

Gelli Plate Play with Stencil

I wanted to try some more techniques with the Gelli Plate, since the challenge this month on Next-Generation-Stampers is to use the Gelli Plate. I decided to use stencils with the Gelli Plate.
I brayered purple acrylic paint over the Gelli Plate.
Removed some of the paint by pressing two stencils into the paint and lifting off.
Pressed paper onto the paint and lifted off to make this purple mono print:
I brayered some blue Lumiere paint over the left over purple paint on the Gelli Plate
 Pressed paper onto the paint and lifted off:
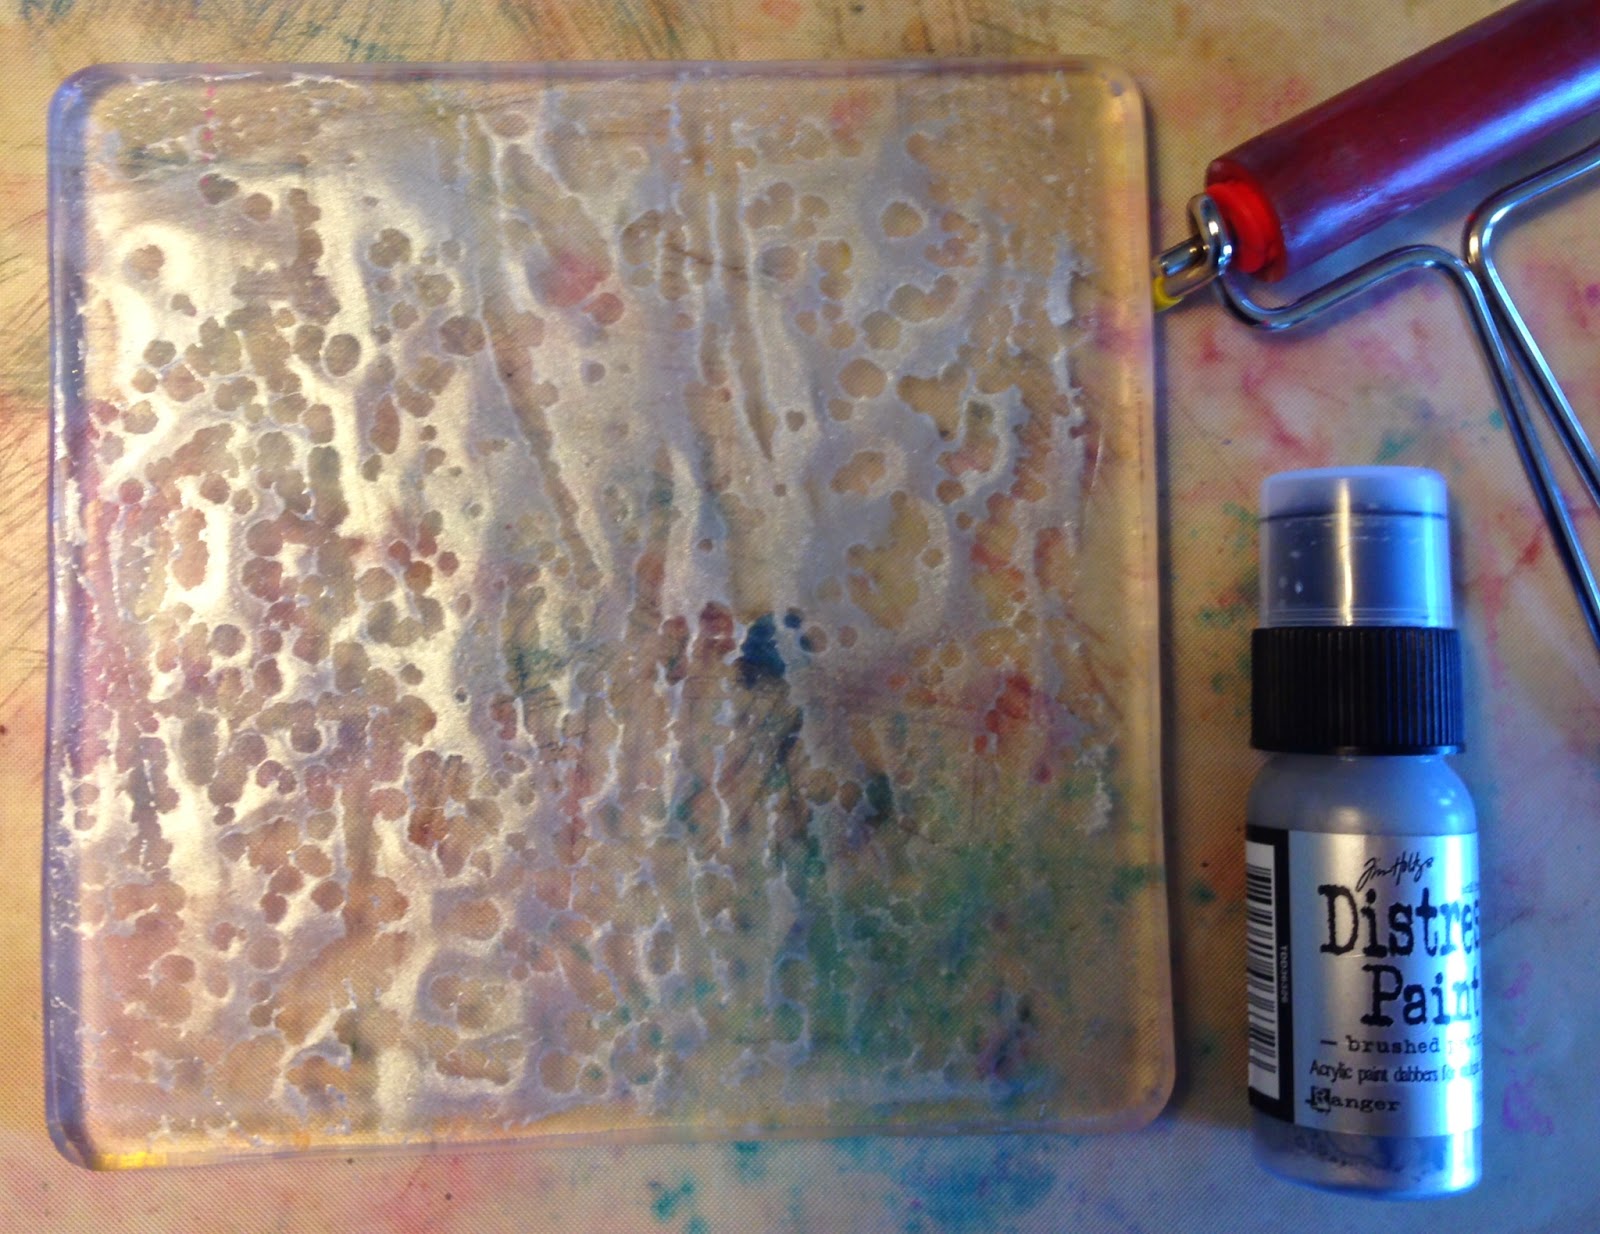
 Cleaned off the Gelli Plate and used some different stencils and colors of paint. Brayered on gold Lumiere paint one the Gelli Plate and used two stencils to lift off some of paint.
 I pressed the paper with the purple mono print above to press into the gold paint on the Gelli Print. Here's the result:
 Then I brayered red acrylic paint over the left over gold paint on the Gelli plate.
Pressed paper onto the Gelli Plate and lifted off:
Love having fun backgrounds available to use at a later date!

Gelli Plate Play with Thick & Thin Paints

On Next-Generation-Stampers Group, the challenge this month is use a Gelli Plate. I decided trying the technique of using thin and thick paints together. 
For the thin paint layer, I used a pink Distress Paint, and spread the paint with a brayer. The paint started to bead up, and I re-brayered it.
Nest, removed some of the paint with a texture tool.
Then brayered over with a thicker paint, a light blue acrylic paint.
Then pressed a sheet of paper over the paint on the Gelli Plate and lifted off. Here's the result:
 Tried again with some other colors. Used metallic brass Distress Paint for the thin paint layer. This time I left the paint as it was when it beaded up.
 Then brayered over with a light purple acrylic paint for the thick paint.
 Then pressed paper over the Gelli Plate and lifted off. This is the first one:
There was still a lot of paint on the Gelli Plate, so pressed down another sheet of paper for the ghost print:

Monday, March 10, 2014

Pink & Black Birthday Card

Stamped saying on half of a paper doily with black India ink. Used two different embossing folders with black paper and layered on a pink card. Added pink ribbon and paper flowers with a large pink rhinestone.

Friday, March 7, 2014

Crackle ATC

 This month's theme on the 9ATC group is Crackle….. I made wrinkle free distress background using Distress inks, Distress paint & Distress Stain.
Cut the background into 2-1/2" x 3-1/2" cards, stamped a collage image with black India Ink. Next, covered half the card with sequin waste and applied Crackle Paste over the sequin waste, then let it dry or "cure" for three days.

After the crackle paste had completely dried, I found it had no cracks in it. Maybe that was because I used a thin layer of the crackle paste, I'm not sure. Well, I was going to try to color the crackle paste after it dried, so I decided to paint over the paste with tarnished brass Distress Crackle Paste and let it dry. Success! Lots of lovely fine crackles.
 Cut a circle out of a vintage image of a women's face (printed in purple ink), covered it with Rock Candy Distress Crackle Paint and let it dry. Then used vintage photo Distress Stain over the cracks to soak into the image. Colored the edges of a paper flower with espresso Acrylic Paint and glued the crackle image in the center of the flower.
 Used the espresso acrylic paint to color the edges of the ATC and added the flower.

Wednesday, March 5, 2014

Lace Purse

I had fun making the quilted tote earlier this week, so decided to try something similar with lace. I sewed white fabric over batting, added a layer of large white lace, then sewed on different white laces. Used a white brocade type fabric for the inside of the purse. Found some lovely fiber to braid into a handle and added some different beads to the top flap along with a large decorative metal flower.

Monday, March 3, 2014

Quilted Tote

I saw a pattern to make a decorative pillow using torn fabric, sort of a rag quilt. I thought this would make a great tote, so that's what I did.

Batik Quilt

Most of of the colored strips are left overs from other quilts. I bought the lighter batiks as a birthday present to myself a few years back.  A dear friend now has a long arm quilting machine and she let me use it to finish this quilt!

Sunday, March 2, 2014

Gesso and Brayer Challenge

Next Generation Stampers Group is having a group challenge: use gesso and use a brayer in making a piece of art and post your creation on the group site. I decided to make an ATC.
First, taped down a tree stencil over manilla card stock and sponge gesso over the stencil. (remember to wash off the stencil right away)
 Gesso dries fairly quickly.
 Then, pressed 2 colors of Distress ink on a craft sheet and used a brayer to pick up the stains and rub them over the gessoed card.
 Rubbed vintage photo Distress ink over the edges of the ATC. Added a printed music piece and a bird cage, attached with a music octagonal brad. Also added music tape over the bottom.


Saturday, March 1, 2014

White Color Perceptions ATC

White is the color for the Color Perceptions ATC Swap at ArtVentures Group in March. The ATC is to be primarily white and the the theme is how white makes us feel. White makes me feel "fresh". How new snow looks when it covers everything, and how a white lacy wedding gown looks on a bride.
I started with white cardboard, covered it with a patterned white netting, then layered on a transparent white fabric with beads and metal in it. Then added two different white lacy ribbons.
 Created a white flower out of two different white lacy ribbons, a large faux pearl and some white fibers. Added 4 faux pearls to the ribbon near the bottom.