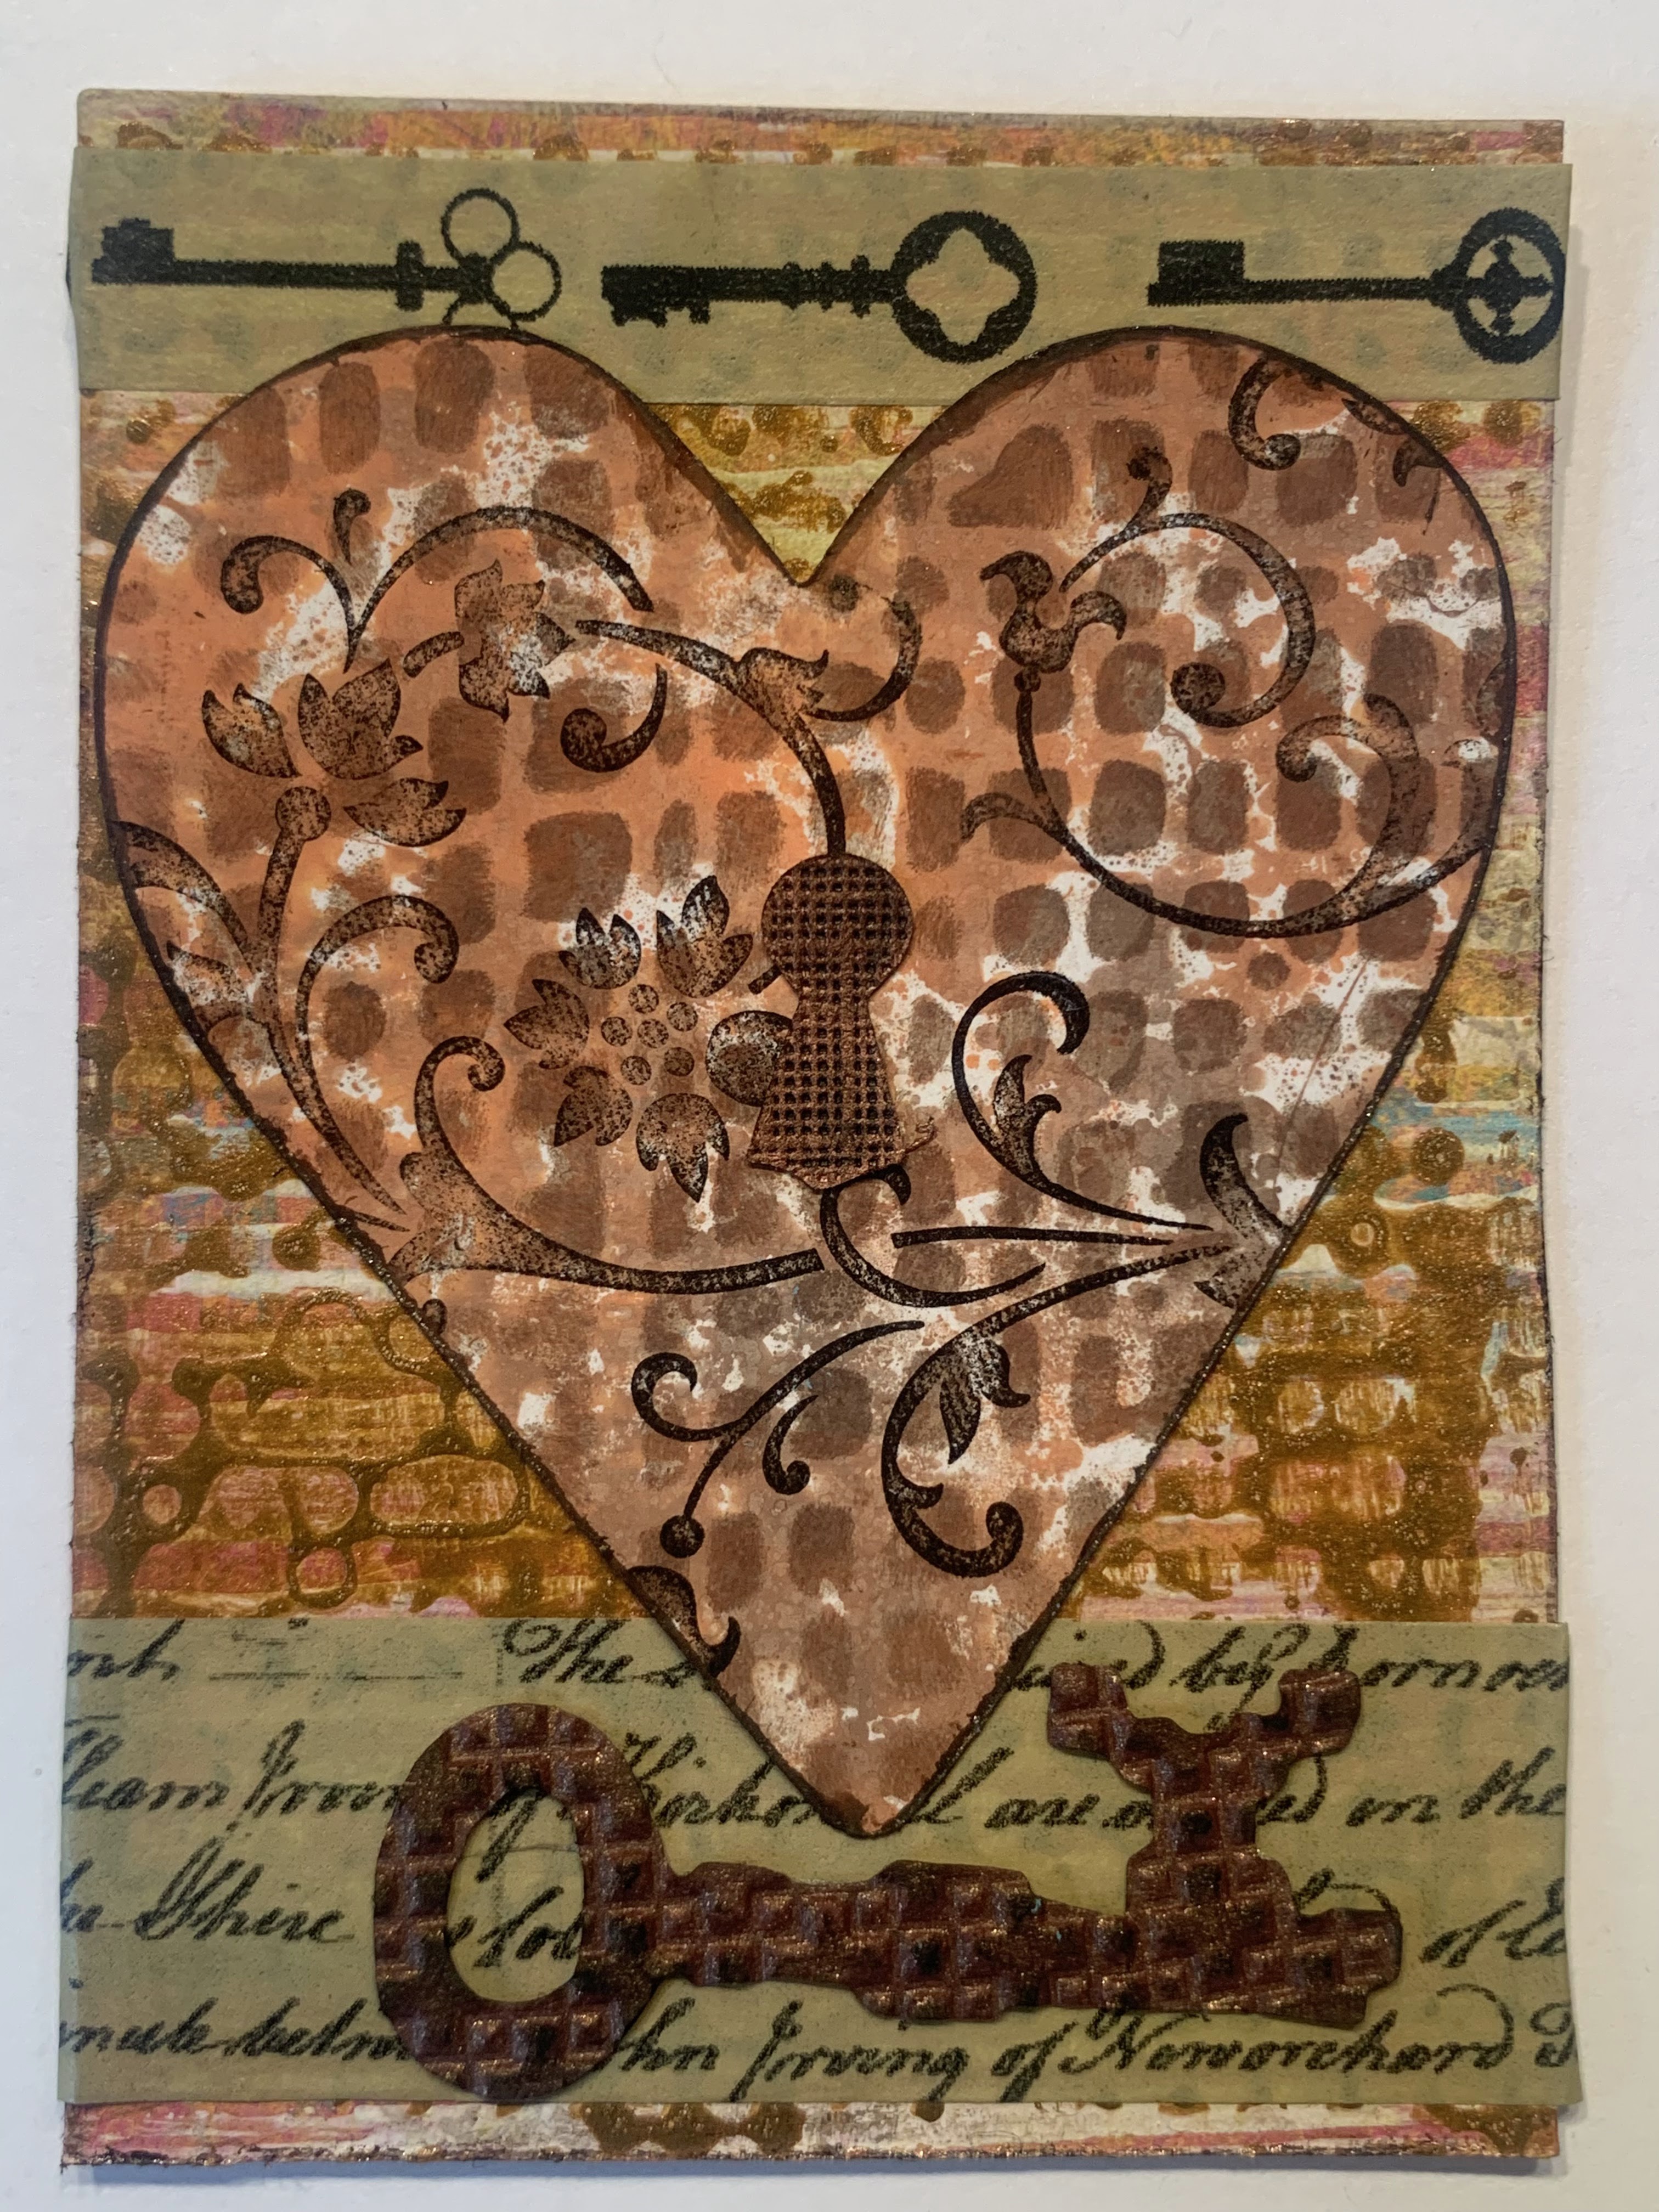
The theme for the 9ATC Group is Gelli Print Backgrounds. I made several gelli print backgrounds and used two sheets to be each side of the ATC. Stamped 3 words in the bottom left corner. Taped a black and white ribbon down the center. Used two other gelli print backgrounds to cut out some flower shapes. Cut and textured a large black and gray paper flower shape, layered them and attached with a black mini brad

Making the gelli print backgrounds. Brayered white and pink acrylic paint over a 6" square gelli plate, then pressed a decorative scrap over the top several times.

Pressed the 2 sheet of paper over the gelli plate to pick up the paint, then cleaned the plate.

Brayered white and yellow acrylic paints over the gelli plate,

Then used a decorative edged ruler to create a design in the paint.

Pressed each of the above pink sheets into the gelli plate to pick up the yellow paint and then cleaned the plate.

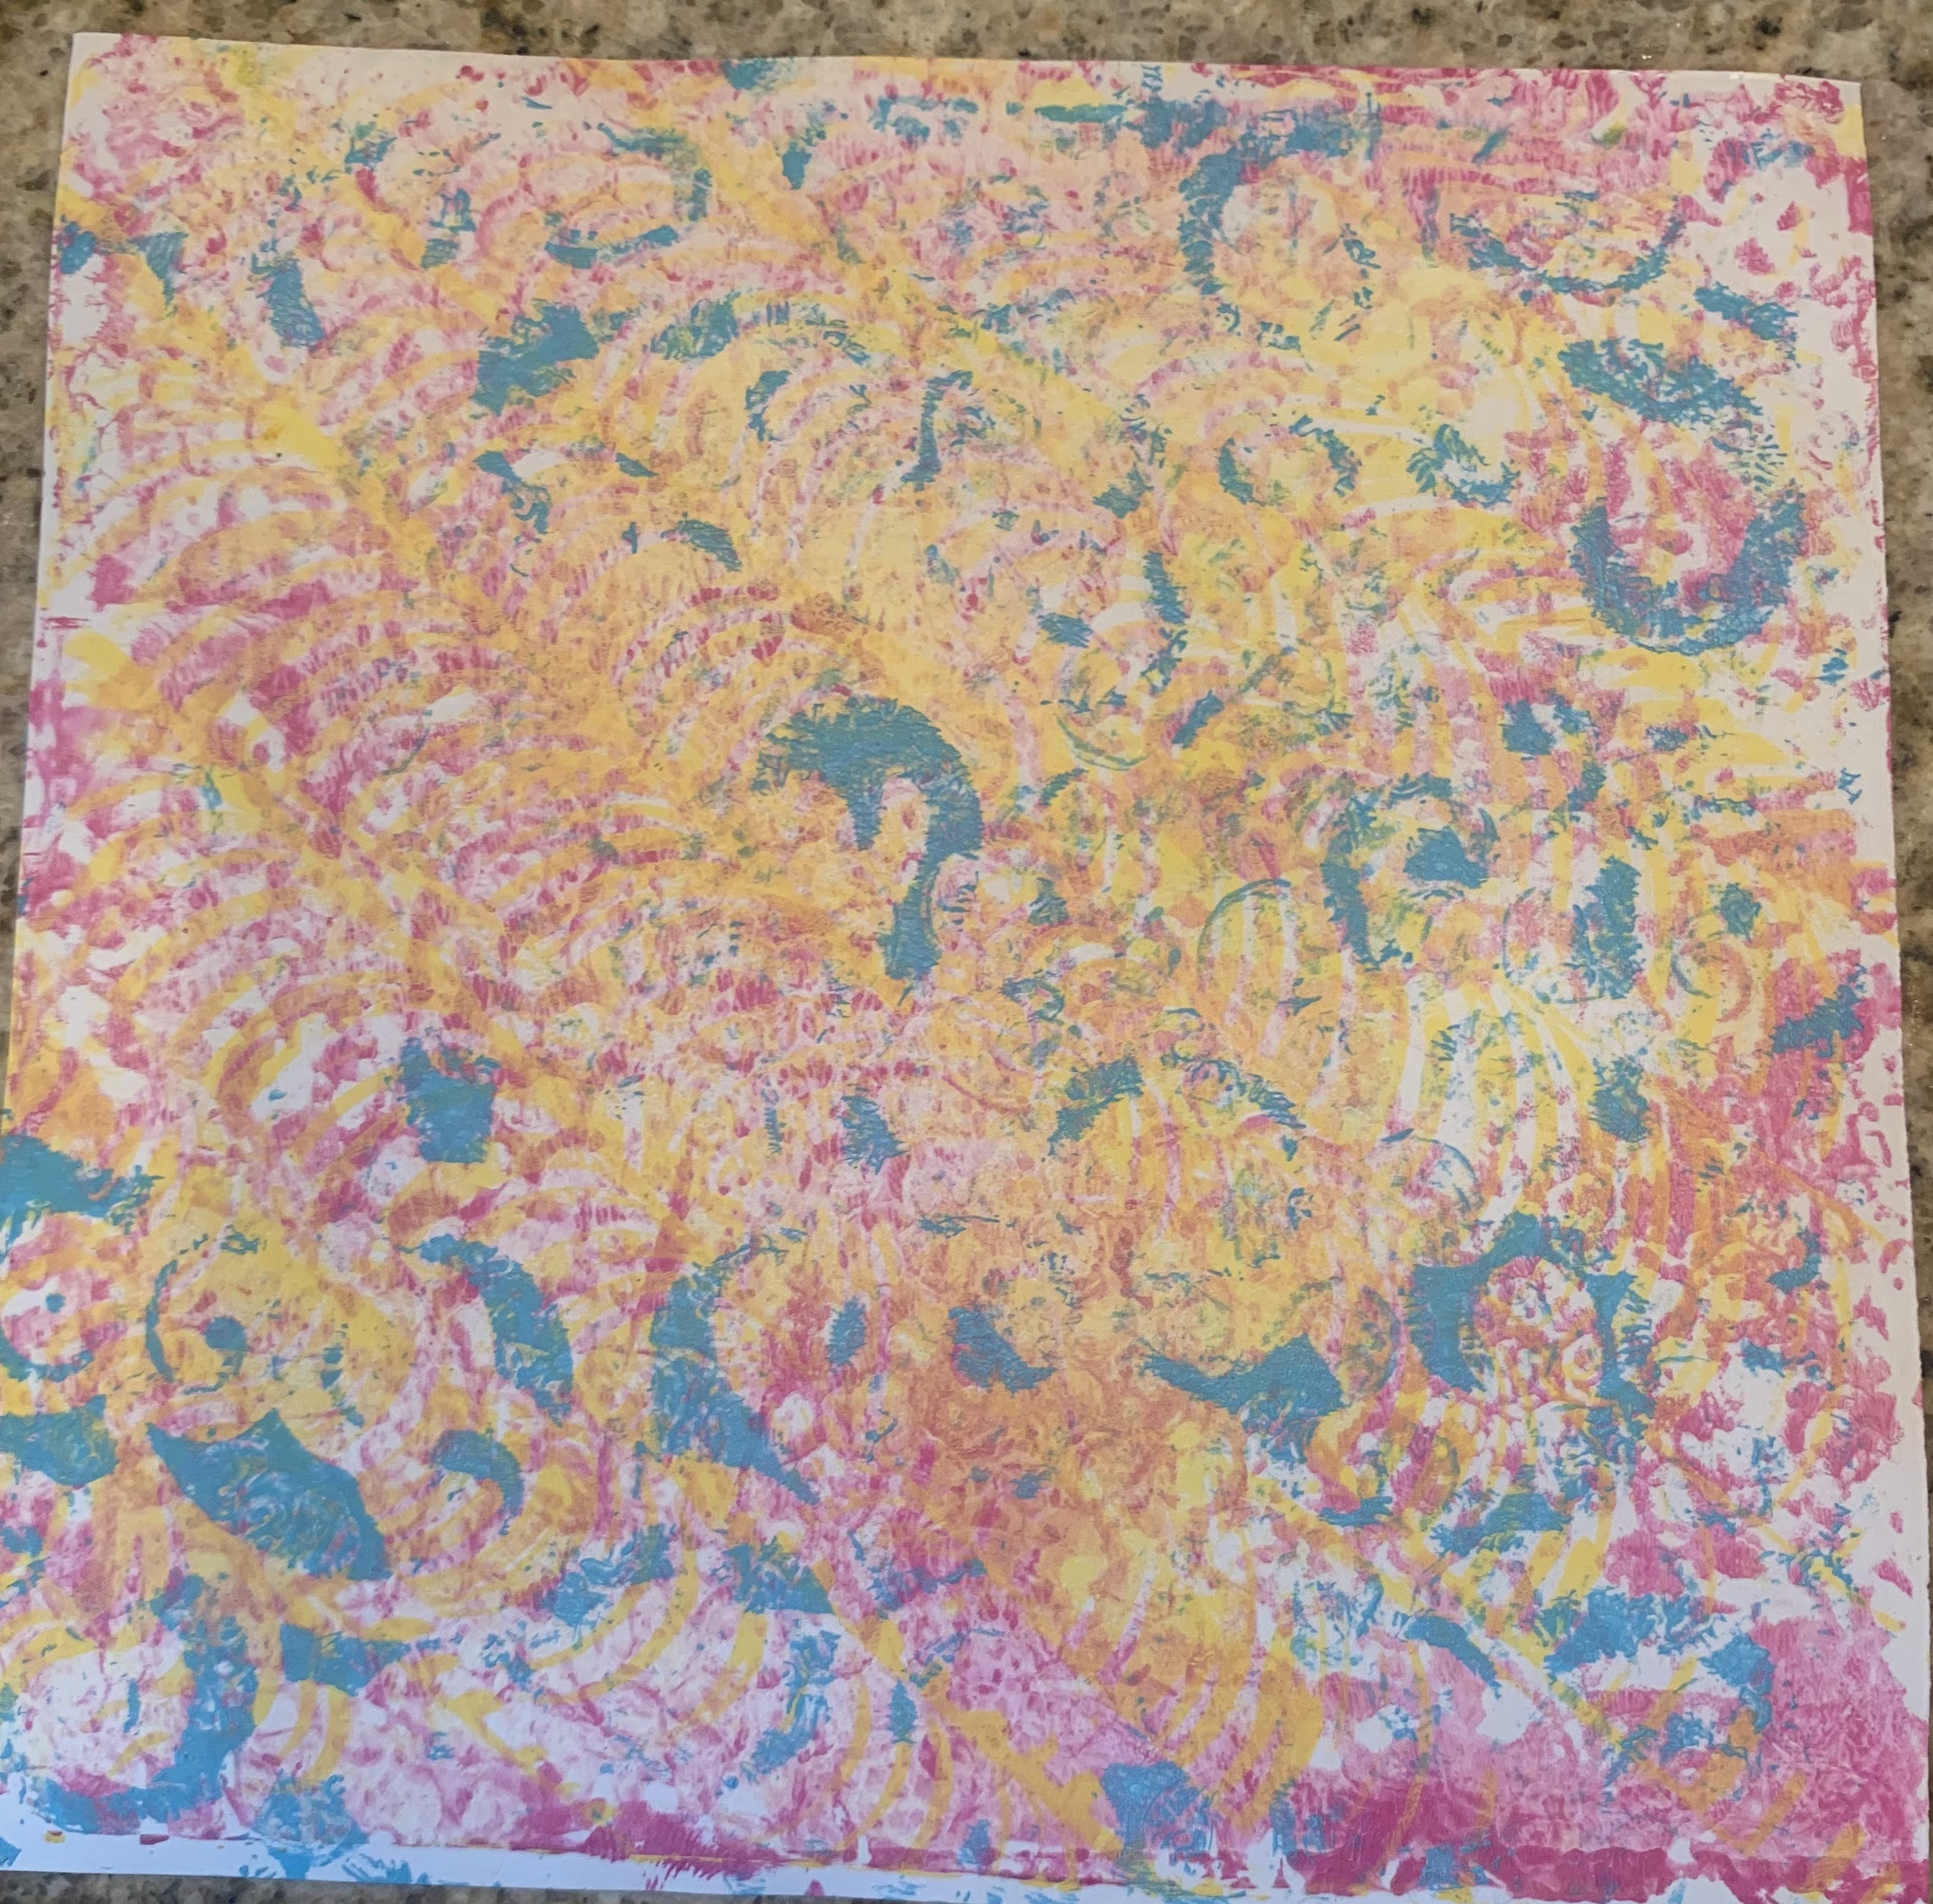
Brayered blue acrylic paint over the gelli plate, then pressed a sheet of bubble wrap into the paint.

How the gelli plate appeared.
I pressed a sheet of paper that had picked up some of the extra pink paint off the gelli plate before cleaning and ran the brayer already covered in yellow paint into the blue covered gelli plate here for this result:


Pressed the bubble wrap over the darker of the two pink/yellow sheets,

how it turned out.

Re brayerd the blue paint on the gelli plate, layer down a swirl stencil and pressed down the lighter pink/yellow sheet over the stencil covered gelli plate, and cleaned the plate.