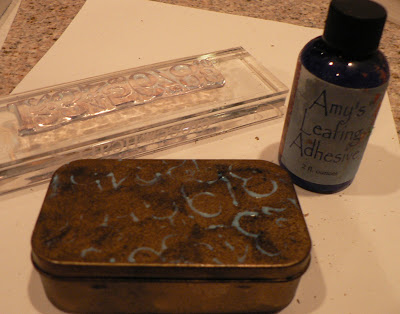
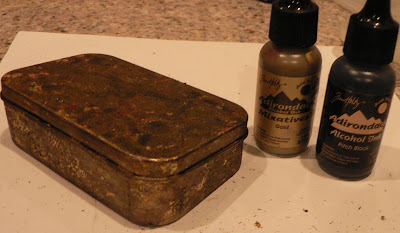
 I was cleaning up my craft space and found two altoid tins I had started to alter a couple of years ago. I painted them with black and gold paint, probably acrylics, and then had no idea what to do with them. They got buried under a stack of supplies until today.
 I spread Amy's Leafing Adhesive over my stamp with my finger and stamped on the top of the lid. I had to wait 15 min. for it to get tacky. (For some reason, I couldn't get the leafing to stick with the Essential glue pad on the stamp on top of the acrylic paint. No idea why not, so this was plan B.)
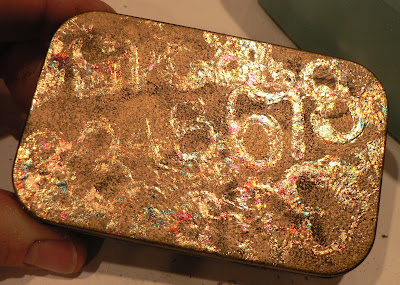
 I put assorted colors of gold leafing over the image.
 I like how the leafing shows up better as it moves around.
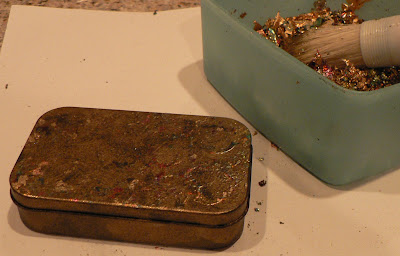
 I decided to give the sides a mottled appearence of leafing, and used my finger to apply more of Amy's Leafing Adhesive.
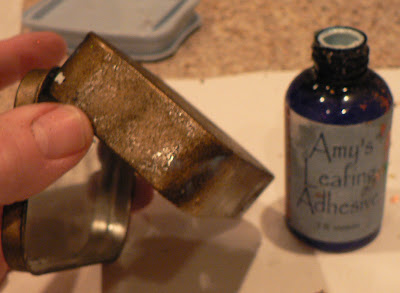 The gold leafing was too bright for what I was going for, so I ran fine grit sand paper to roughen it up and dabbed on some gold & black alcohol inks.
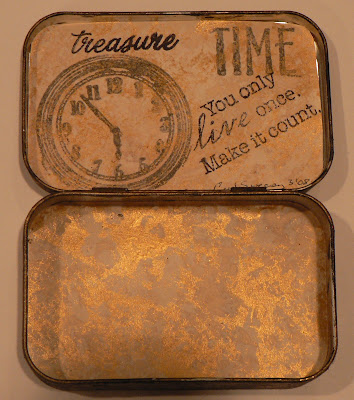
 I was able to use a push pin to make holes for the brads. Here is the top:
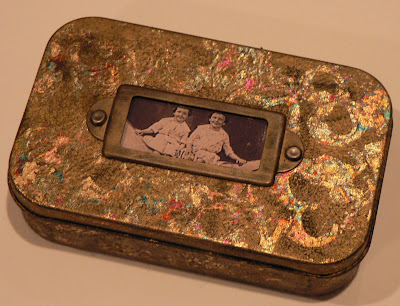 I used some of the gessoed sea sponge background paper I made earlier to line the inside.
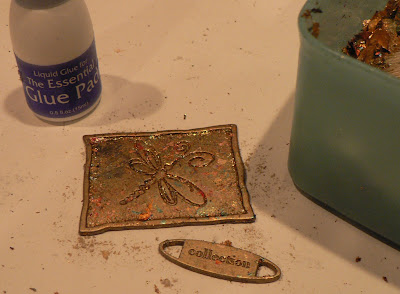
 For the second box, I used the Essential Glue Pad and assorted colors of gold leafing to cover the box, similar to what I did yesterday. Because of the acrylic paints underneath, this tin has a very different texture and appearance compared to yesterday's box.
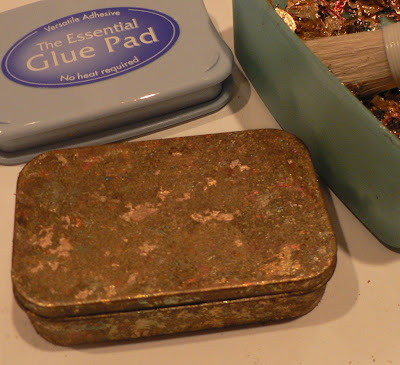 I wanted to add some glitter, so I dabbed on more of the Essential Glue Pad added embossing powder and heated it up. It was a bit more glitter that I was planning.
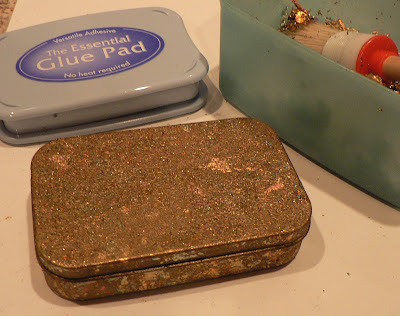
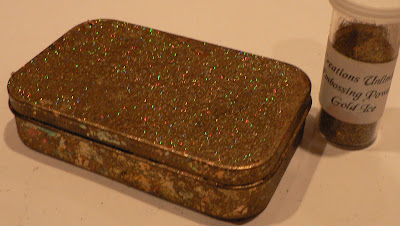 No problems, more glue, more leafing to tone down the glitter.
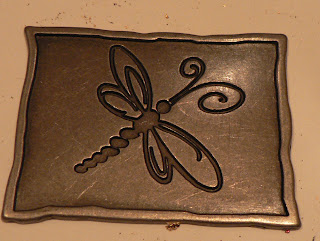
I wanted more metal, so I pulled out this embellishment. Like the design, but it was not the color I was looking for.
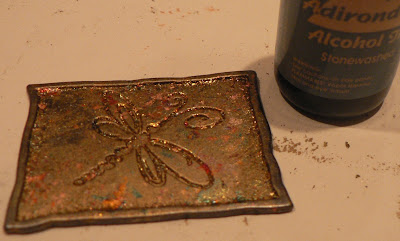
 I added gold alcohol ink to change its color.
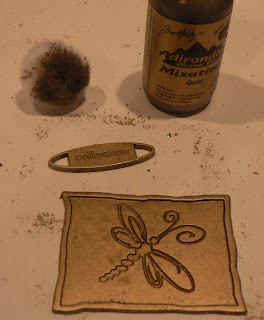 And a little glue with a bit of gold leafing.
To give the edge some contrast, I applied blue alcohol ink.
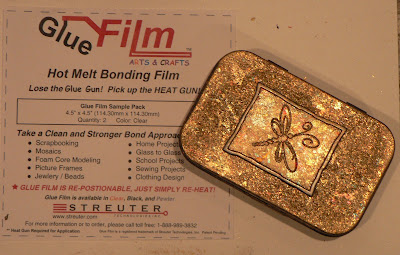
 In my clean up, I found this sample of adhesive to try. (I can't remember who gave the email to request a free sample or what the email was, sorry.) It works great. Very easy way to adhere metal to metal. I didn't get it on where I wanted at first. But, just like the instructions said, I reheated the metal, and was able to easily reposition the embellishment.
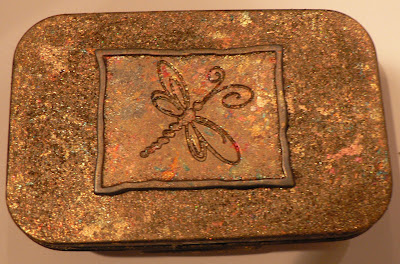
Close up of the top.
 Inside, again I used the sponged gesso paper I made earlier.
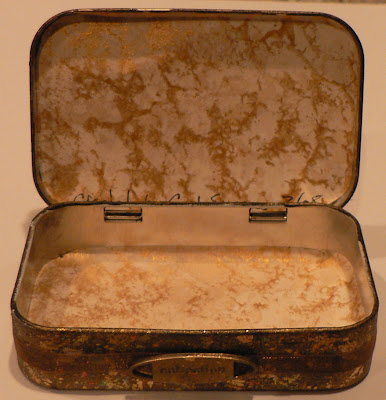
6 comments:
They are looking lovely! And I'm jealous. I have a pile of these sitting on my desk without the supplies you have. Your tins are inspiring though... now I really want to get around to playing with mine.
I like how they look vintage-y, but not in that pretentious "Look at me, I'm vintage like all the other vintage art out there" way.
.... I sound horrible lol
Keep up the great work :)
-Angela
funkycatstudio.com
Absolutely stunning and I love how you document everything you do... the backgrounds you made are glorious too. I've just acquired some perfect pearls, but I'm a bit timid with them, I confess!! I must practice more. :D
These are both great Carol. It's always so much fun to read your blog because you get the whole road to the stunning finished product. I love how creative you are at finding solutions to your roadblocks. Thanks for sharing!
Lovely - thanks for taking the time to write out so many instructions. It's great to see what you did. Think you've gone tin mad now lol.
Fiona
soooooooooooo pretty!
Absolutely wonderful, Carol! Your step by step instructions are the best!!
Post a Comment