
Born today at 0029, 7lbs 4oz, 20" long.


 I'm visiting my son & his family in Minnesota. We went for a walk this morning. It was beautiful.
 My granddaughter loves the Disney Princesses, but not wearing dresses. I made her a Jasmine outfit. She couldn't wait to put it on. But the top "hurt" her, it was too itchy, she won't wear it. I need to make a liner for it.
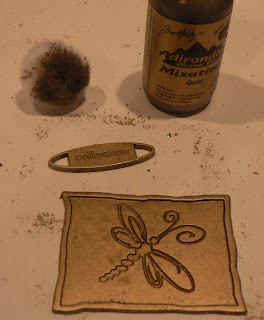
 I was concerned that the fine details of the image would be lost under the UTEE (ultrathick embossing powder) and cracks, so I colored it in and darkened the edges:
 I used an embossing ink pad and 3 layers of UTEE (heating after each layer):
 Then let it cool:
 I bent the image to make breaks in the UTEE and dropped a dark distress reinker over the cracks and rubbed it in with my finger, (then wiped off the excess with a tissue):
 I wanted more cracks, but not as dark. I bent the image some more and ran a lighter shade of distress ink over the image:
 Here is my finished page:
 Wishing everyone a Blessed Easter!
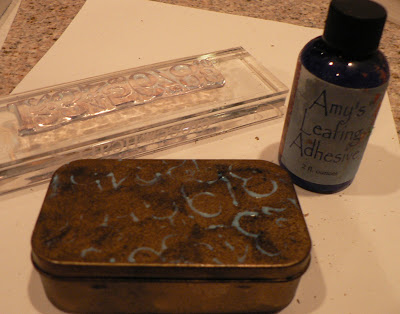
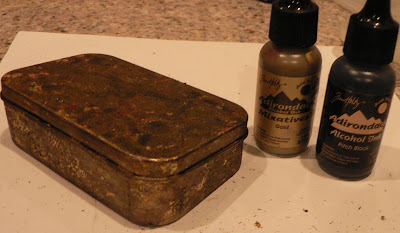
 I was cleaning up my craft space and found two altoid tins I had started to alter a couple of years ago. I painted them with black and gold paint, probably acrylics, and then had no idea what to do with them. They got buried under a stack of supplies until today.
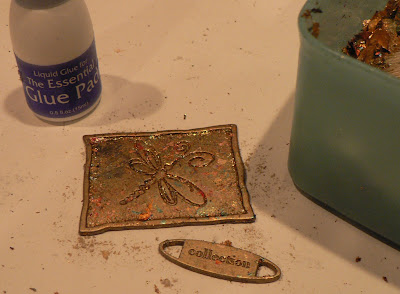
 I spread Amy's Leafing Adhesive over my stamp with my finger and stamped on the top of the lid. I had to wait 15 min. for it to get tacky. (For some reason, I couldn't get the leafing to stick with the Essential glue pad on the stamp on top of the acrylic paint. No idea why not, so this was plan B.)
 I put assorted colors of gold leafing over the image.
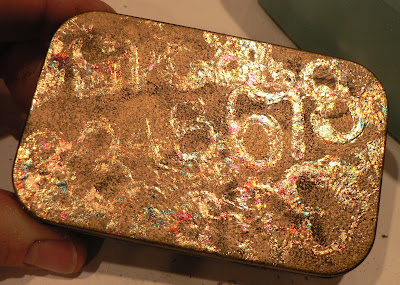
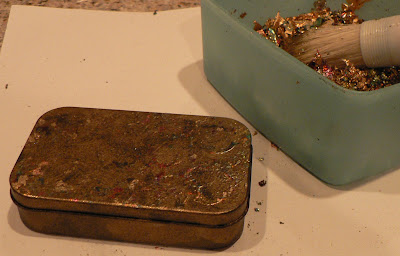 I like how the leafing shows up better as it moves around.
 I decided to give the sides a mottled appearence of leafing, and used my finger to apply more of Amy's Leafing Adhesive.
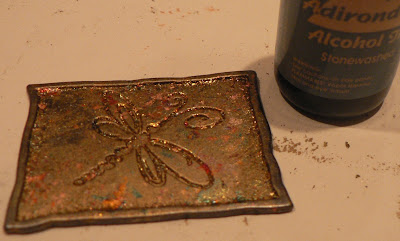
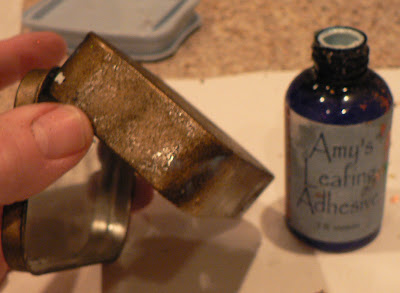 The gold leafing was too bright for what I was going for, so I ran fine grit sand paper to roughen it up and dabbed on some gold & black alcohol inks.
 I was able to use a push pin to make holes for the brads. Here is the top:
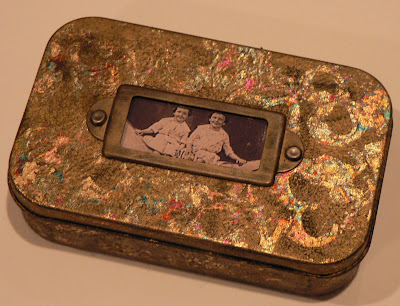 I used some of the gessoed sea sponge background paper I made earlier to line the inside.
 For the second box, I used the Essential Glue Pad and assorted colors of gold leafing to cover the box, similar to what I did yesterday. Because of the acrylic paints underneath, this tin has a very different texture and appearance compared to yesterday's box.
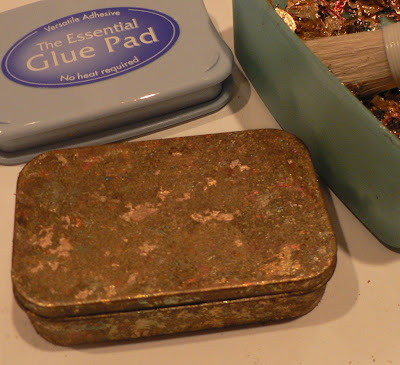 I wanted to add some glitter, so I dabbed on more of the Essential Glue Pad added embossing powder and heated it up. It was a bit more glitter that I was planning.
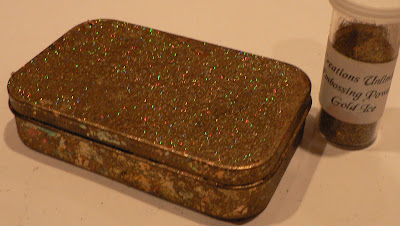 No problems, more glue, more leafing to tone down the glitter.
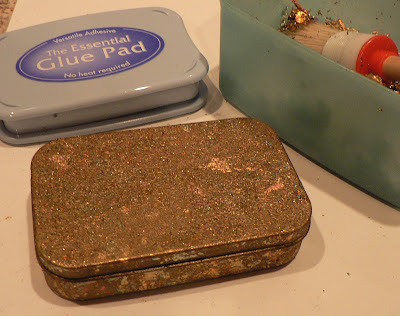
 I added gold alcohol ink to change its color.
 And a little glue with a bit of gold leafing.
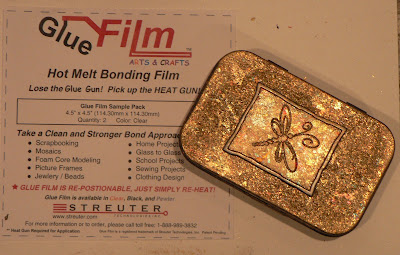
 In my clean up, I found this sample of adhesive to try. (I can't remember who gave the email to request a free sample or what the email was, sorry.) It works great. Very easy way to adhere metal to metal. I didn't get it on where I wanted at first. But, just like the instructions said, I reheated the metal, and was able to easily reposition the embellishment.
 Inside, again I used the sponged gesso paper I made earlier.
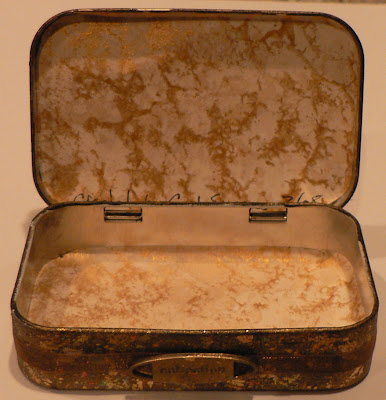
 A while ago, Fiona offered tins to the Art-Ventures group. All she asked was for us to do was decorate them however we liked, post a picture of the decorated tin and give some instructions. Originally, I thought of turning it into an ATC holder, but it wasn't big enough. The top of tin is about 3.5" x 3" and the bottom part is slightly smaller. I finally decided it would be used to hold the "Little Beauties" I'm receiving in some swaps. Here is what I did:
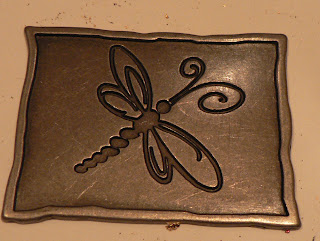
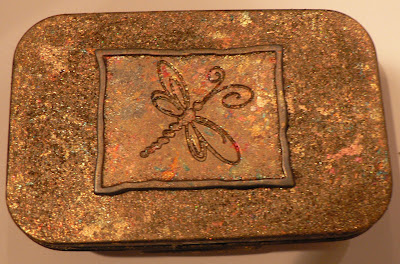
  Next, I stamped a flourish image on top of the tin with the Essential Glue pad and used some copper foil. I did a rough application, so it would look more antiquey, and blend into the gold leaf.
 Close up:
 Finished tin top, with one of the "Little Beauties" I received from Maggie:
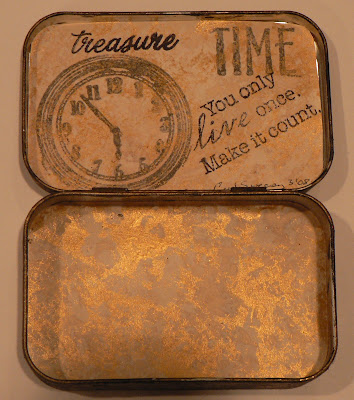
 Inside of tin, holding the lovely "Little Beauties" I have received so far (I couldn't resist doing the inside top of the tin, I like a bit of color!):


 I didn't have black gesso, so I used white gesso on 1/4 sheets of card stock. I tried to make different textures, and then let it dry.


 I painted two sheets with red acrylic paint.


 On two, I painted on a green acrylic. For some reason, the paint didn't want to stick to the paper on the right.


