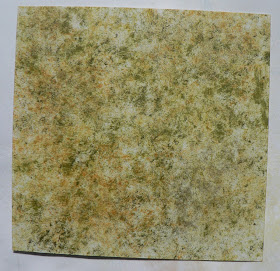
 Continued to add more colors using crushed olive, peeled paint and forest moss Distress inks and Encore! gold ink:
 For this one, used wild honey, barn door, aged mahogany, brushed corduroy and vintage photo Distress inks and Encore! bronze ink:
 Continued to add more colors using crushed olive, peeled paint and forest moss Distress inks and Encore! gold ink:
 For this one, used wild honey, barn door, aged mahogany, brushed corduroy and vintage photo Distress inks and Encore! bronze ink:
 Stippled on tumbled glass, stormy sky and crushed sapphire Distress inks:
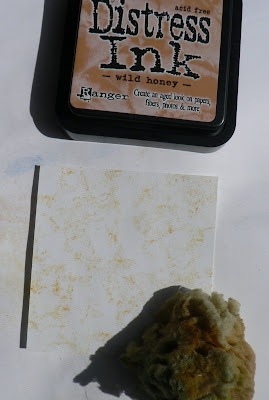
 You can also use stencils when stippling. For this piece, I first rubbed on antique lined Distress ink to add variation in color to the white paper. Next lay stencil over paper and use stippling brush to add color as desired. Here I've added wild honey and dried marigold Distress ink.
 Used black Archival ink to stamp on script to the two inside covers. Mounted these inchies on to the silver metallic paper and then some scrap black paper I'd used to pick up the excess mica powder when doing the Spray Starch & Mica Powders technique:
 On two squares, stamped butterfly images with black Archival ink and heat set. The designs in the other two pieces look like wings to me, so I outlined them with black permanent ink pen. Also inked the edges of the squares with black Archival ink.
 Finished background after adding tumbled glass, stormy sky and chipped sapphire Distress inks:
 This DTP background was made using wild honey, stormy sky, crushed olive, and forest moss Distress inks:
  To add some texture to the Northern Light papers, sprinkled on some detail gold ep and heat set. Didn't use any ink as the ep randomly sticks to the glossy paper.
 Used blank paper for the fillers and the Zutter Bind-it-All to bind the notebook together. On the front used the Zutter to punch additional holes along the bottom edge and wove in a decorative ribbon and tied on a gold colored bead.
 Used the embossed worksheet pieces for the inside covers. Colored the edges of the image and saying with detailed gold ep as was done on the covers. Added a small brad heart to the image, it was dark grey, so I coated it with detail gold ep and heat set.
 Cut out two pieces:
 Here's how it looks after rubbing on Perfect Pearls while the UTEE is still warm. I reheated the piece after rubbing on the Perfect Pearls, seem to help them shine.
 On two of the papers, I sprinkled on a mixture of different mica powders.
 Very generously sprayed on more Magic Sizing, then spread the powders around with my finger.

 Here's one set:
 The other set:
 There was so much sizing and powders, I wiped some off onto plain white sheet of card stock.
 On the other two sheets of black card stock, I sprinkled some other colors of mica powders.